
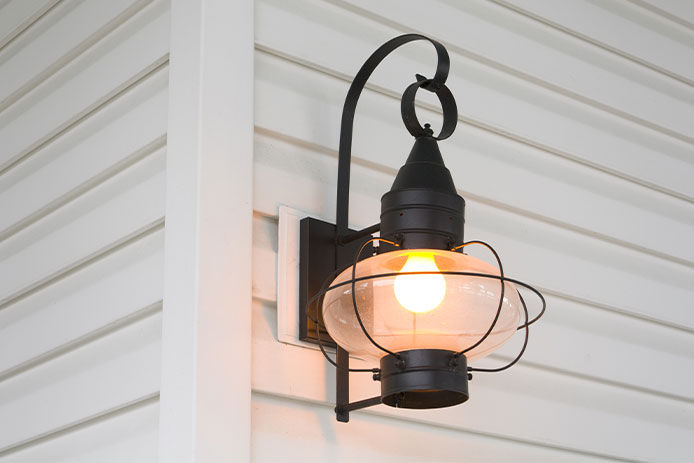
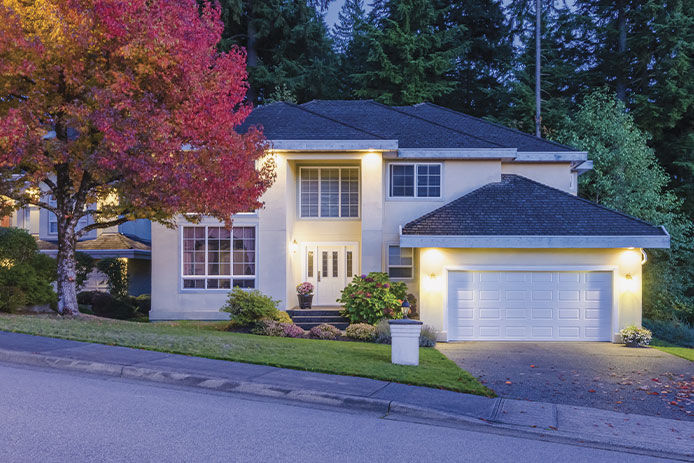
Security lights are ideal for brightening up the exterior of your home and illuminating obstacles and pathways that could pose trip hazards. They’re also recommended to help you see any potential intruders or wild animals that might be roaming around in the dark. Security lights come on automatically when there’s movement outside, but that very feature can make them a nuisance if they’re not properly installed. Use these tips to make sure you’re installing security and motion sensor lights the right way.
1. Locate an Existing Light Fixture
Most homeowners should only attempt to install new security lights to replace existing outdoor fixtures. Trying to run new wiring for an entirely new exterior fixture is a task best left to an electrician. If there’s already a light fixture or outdoor outlet within a few feet of the desired location, attaching the new fixture is easy enough for almost anyone to handle.
2. Choose a Compatible New Light
For the least amount of work, find a new light with the same number of wires and the same size electrical box as the old unit. It doesn’t take much work to swap in a new electrical box to support a larger or smaller light fixture, but changing the wiring going into the fixture does take expertise. Most models should feature a three-wire pattern of a white neutral, black hot, and green or bare ground wire.
3. Turn Off the Power
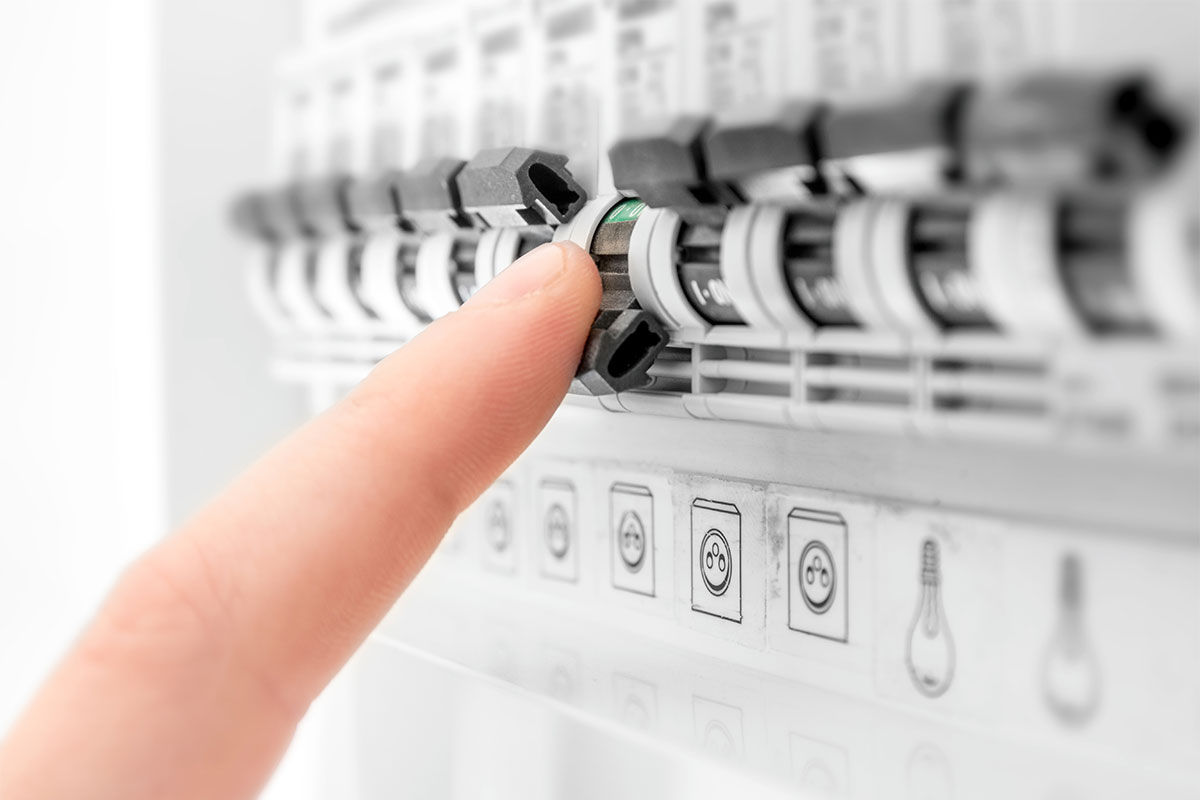
Begin by turning off the power at the breaker box that controls the area where you’ll be working. Find the correct circuit and switch it off to ensure that no electricity is flowing to the wires you’ll be handling. If you’re unsure which breaker controls the light, it’s better to turn off the main power switch for the whole house to be certain.
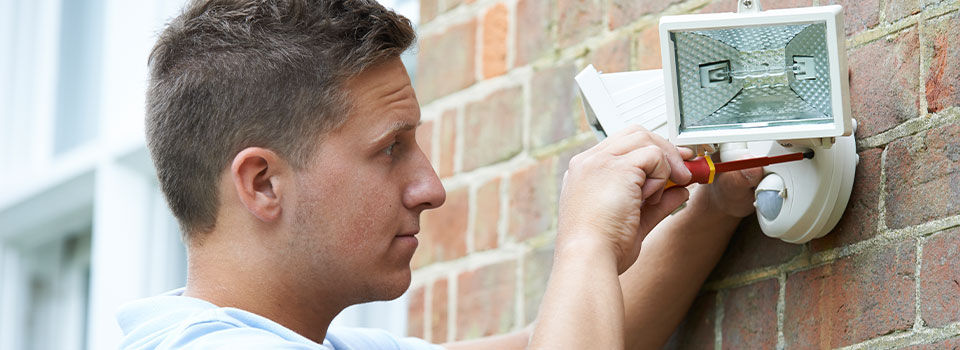
4. Use Ladders Correctly
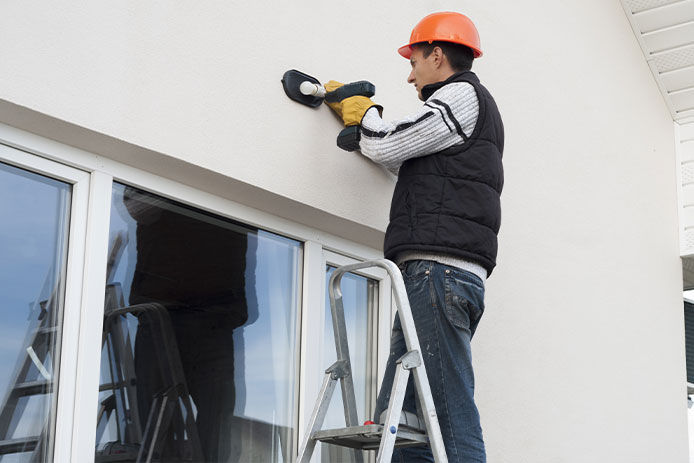
Some security lights are installed at ground level, but most are high on the walls of the home to keep them out of the grasp of criminals. This means that you’ll need to take steps to mitigate electrical risks and the risk of falling when using ladders. Make sure you and the ladder steer clear of contact with any overhead power lines running into the home. And avoid setting the ladder too close to any exposed wiring. Place the feet of the ladder on a level, stable, and even surface, and don’t put your weight on the top rung.
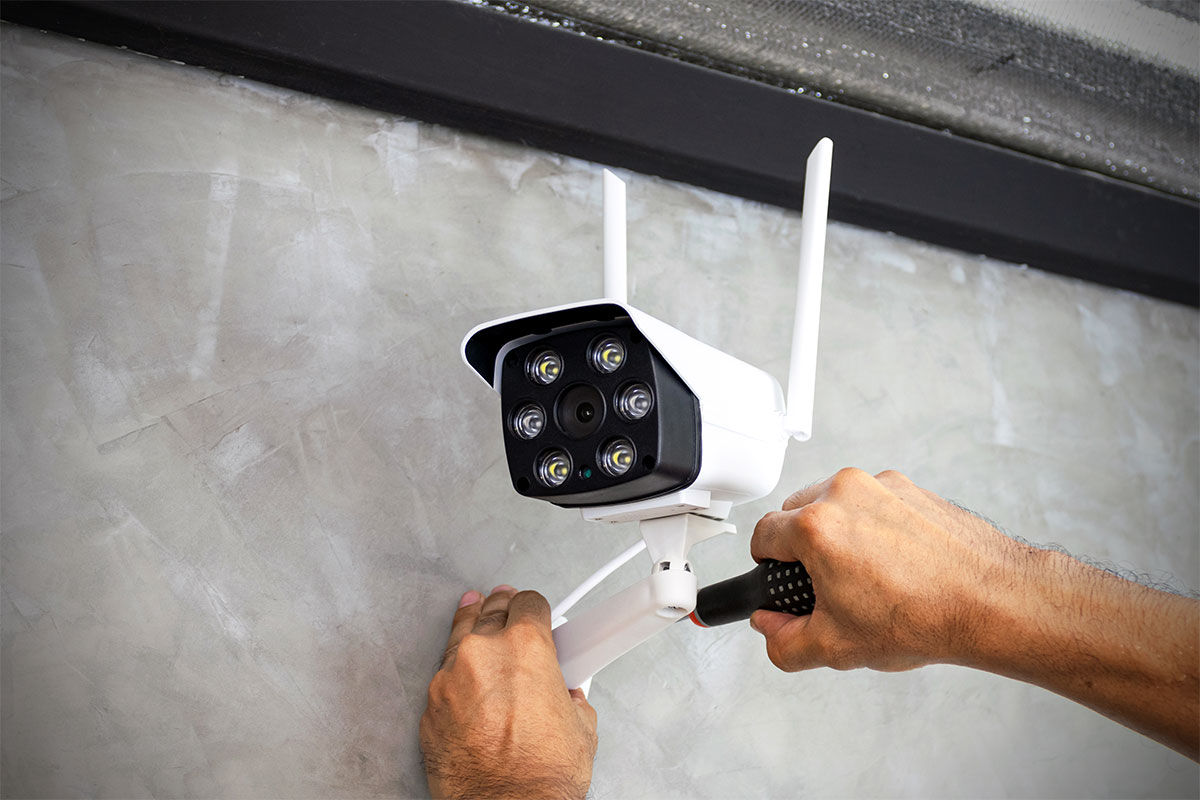
5. Remove the Existing Light Fixture
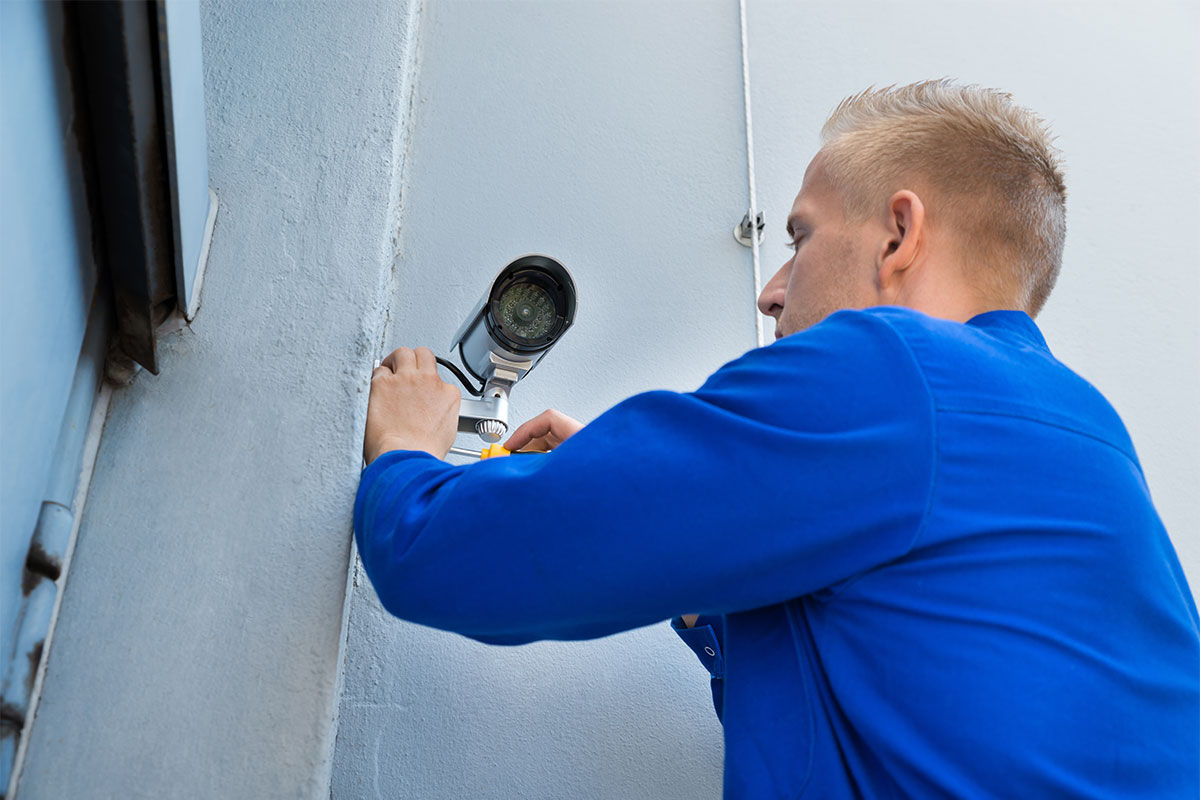
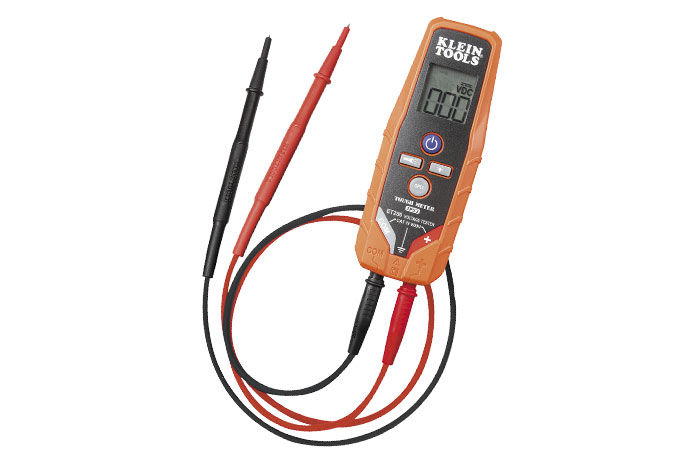
You’ll need to safely remove the old light fixture before installing the new security light. Use a voltage tester on the wires before touching them to verify that the power is properly disconnected. Touch one part of the tester to the ground, then touch the other lead to both the hot and neutral wires. Any indication of voltage means the wires are still live. Testing for this will prevent any shocks as you connect the new fixture.
Once you’ve verified that the power is off and the wires are safe to touch, follow these steps to remove the previous light structure:
- Start by unscrewing the fixture from its mounting plate.
- Once it’s loose, carefully pull the fixture away from the wall or ceiling to expose the wiring behind it.
- Use a screwdriver to disconnect the wires by loosening the wire nuts or screws holding them together
Remember to note how the wires are connected—you’ll need to replicate the same connections when you install the new security light. Be sure to handle the fixture and wiring gently to avoid damaging the wires, as they will be reused for the new installation.
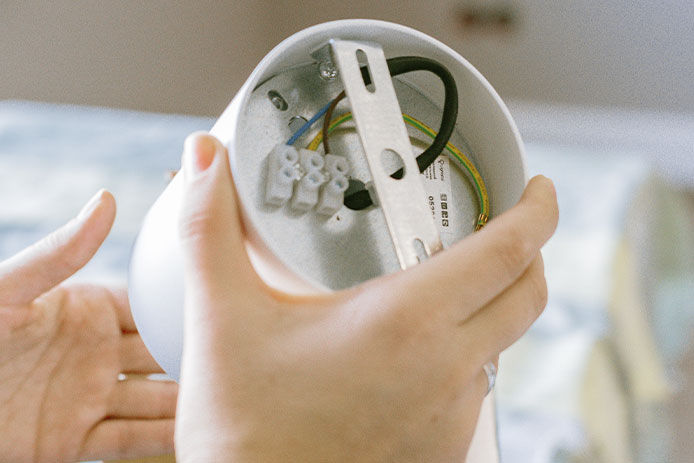
6. Connect the Wiring
Once your existing fixture is removed or your electrical box is installed, it’s time to connect the wires of the new security light to the power supply. You’ll typically find three wires: a black wire (hot), a white wire (neutral), and a green or bare copper wire (ground). Follow these steps to install the new security light:
- Connect the Black (Hot) Wires: Begin by connecting the black wire from your security light to the black wire in your electrical box. Twist the exposed ends of both wires together and secure them with a wire nut.
- Connect the White (Neutral) Wires: Next, connect the white wire from the security light to the white wire in your electrical box. Like before, twist the wires together and cap them with a wire nut.
- Connect the Green or Bare Copper (Ground) Wires: Finally, attach the green or bare copper ground wire from the security light to the ground wire or grounding screw in the electrical box. Use a wire nut to secure the ground wires or wrap them around the grounding screw.
- Tuck the Wires Safely: After all connections are made, gently tuck the wires back into the electrical box, ensuring none of them are pinched or exposed. The wires should fit snugly and remain secure behind the fixture.
7. Check the Waterproofing
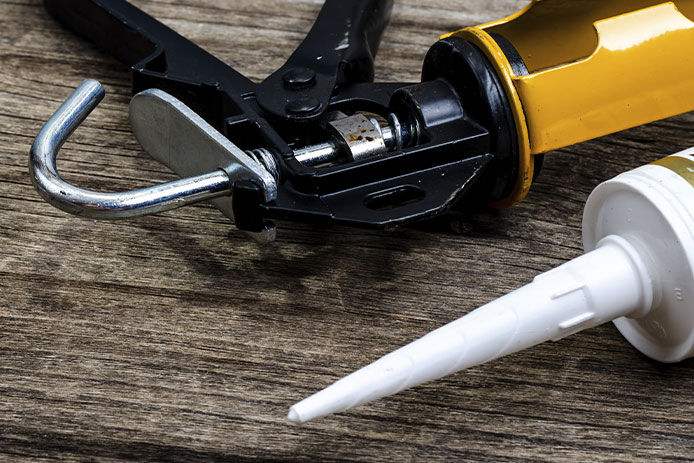
Check any existing gaskets or seals on the electrical box if you’re not replacing it. New electrical boxes will need putty or flexible rubber gaskets to keep water from soaking through where the wiring enters. Silicone caulk is also recommended for a bead around the edges after mounting the fixture on the box. This will prevent the most moisture control while still being easy to access and replace as necessary.
8. Choose a Compatible New Light
For the least amount of work, find a new light with the same number of wires and the same size electrical box as the old unit. It doesn’t take much work to swap in a new electrical box to support a larger or smaller light fixture, but changing the wiring going into the fixture does take expertise. Most models should feature a three-wire pattern of a white neutral, black hot, and green or bare ground wire.
9. Aim and Adjust Motion Sensors
If you’re installing a motion-activated light rather than just a manual switch-controlled model, you’ll need to carefully place the sensor and then adjust its aim. Sensors work best when pointed at an area where traffic could pass from side to side rather than at it. This can be tricky since many homeowners think of lighting up the areas where they’re most likely to walk directly at an entrance or path. You may want to install lights with separate sensors so they can be placed to the side of a walkway or path while the light is still directly above it. If you keep getting too many nuisance activations, try limiting the range of the sensor by placing small strips of masking tape on either side. This creates a more narrow band of detection that will pick up fewer movements and focus on a smaller area.
Once the wiring is complete, test out the lights at night to see how well they work. Almost all security lights are adjustable, so getting better illumination is just a matter of getting the ladder out and changing the direction of the lamps.
While do-it-yourself projects can be fun and fulfilling, there is always a potential for personal injury or property damage. We strongly suggest that any project beyond your abilities be left to licensed professionals such as electricians, plumbers, and carpenters. Any action you take upon the information on this website is strictly at your own risk, and we assume no responsibility or liability for the contents of this article.