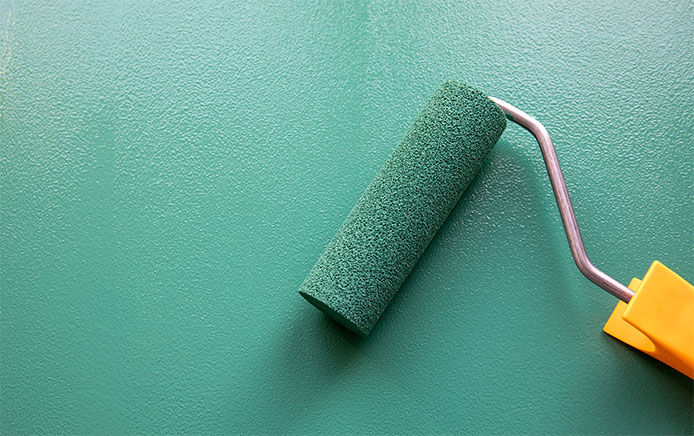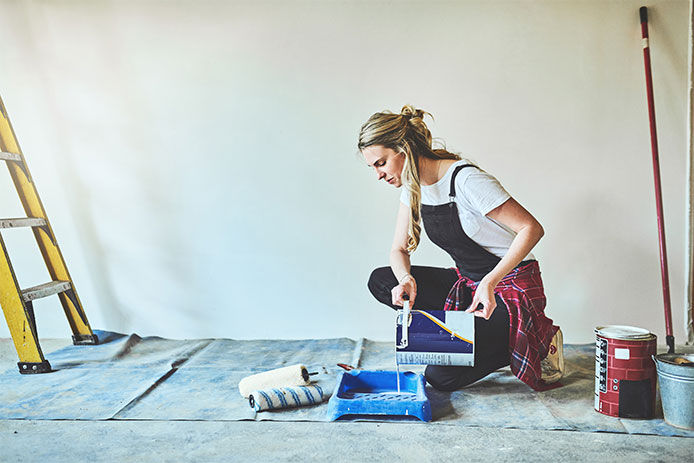
Chipping, peeling paint may be desirable in small doses for the shabby chic look. But when it’s occurring on a wall rather than in a controlled way on a decorative item, it’s a problem rather than a decorative touch. Paint tends to chip or peel when it loses flexibility due to age or anything that causes it to detach from the underlying layers. Moisture can trigger paint to peel or chip even when it’s brand new. Solve any underlying issues with the ceiling or walls before attempting to patch small areas of paint. Entire walls of chipping and peeling indicate a need for painting the whole room or even the whole home.
1. Gather Supplies
Before you start fixing chipped or peeling paint, make sure you have all the necessary supplies on hand. Here’s a list of what you’ll need:
- Metal or plastic paint scraper
- Wire brush
- 100-grit sandpaper
- Painter’s rags
- Wood filler
- Stir stick
- Paint
- Paintbrush or roller
2. Test for Lead Paint If Necessary
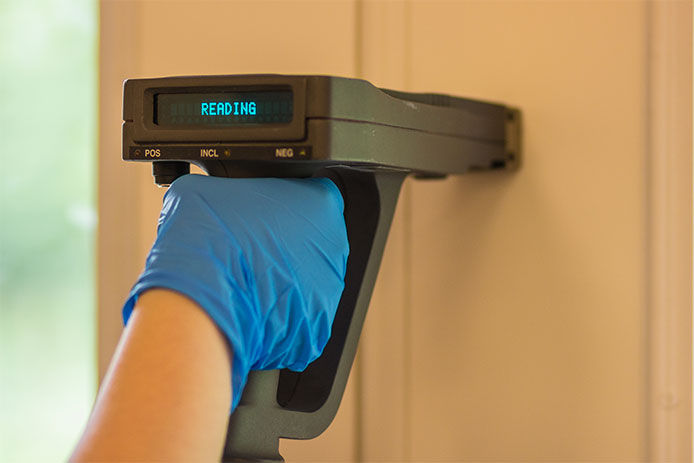
Any home built before 1978 should be tested for lead paint in every room and on the exterior. Scraping or sanding paint containing lead can be dangerous to your health, even with a dust mask or respirator. It’s important to let a professional handle any lead paint until it’s removed or fully covered. If you’re sure your home is newer than 1978, you can proceed with the next few steps without testing.
3. Scrape Away the Paint
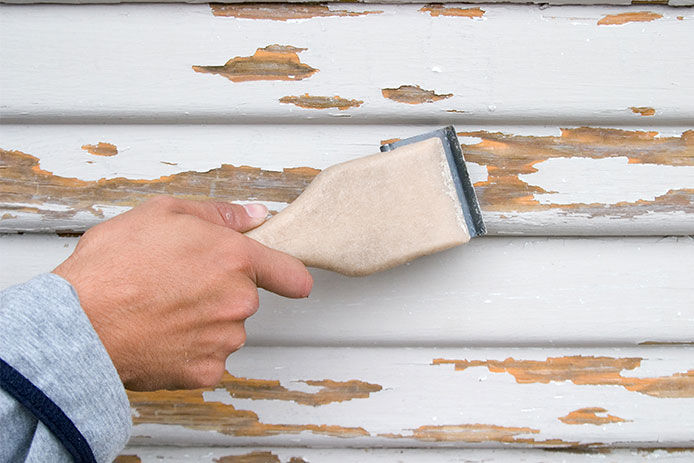
There’s no way to apply new paint until the old damaged material is removed first. Any peeling or chipping paint that is left in place will weaken the bonds of the new layers and create future problems. A flexible metal or plastic paint scraper is the best tool for removing paint without damaging the wood or drywall below. Scrape along the grain of the wood first, then try working at a different angle to pick up other loose pieces. Work until you can’t loosen any more paint without risking damage to the underlying surface.
4. Brush and Wipe
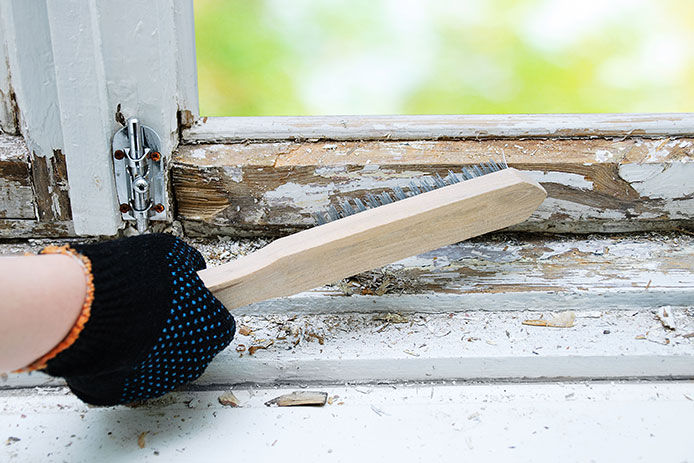
The next step: use a wire brush to smooth out the loose paint and ensure any remaining debris comes loose. Sanding with 100 grit sandpaper results in the smoothest possible finish, but it’s not always practical if you’re dealing with larger areas of peeling and chipping. A wire brush is often enough to get the damaged paint smooth and ready for covering. After scraping, brushing, and sanding, use damp, lint-free painter’s rags or an old t-shirt to remove any dust and lingering paint chips from the surface.
5. Apply a Thin Layer of Filler
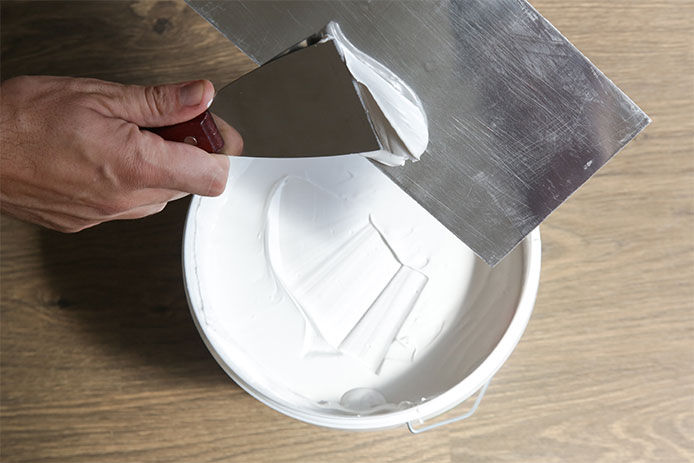
It’s possible to simply paint at that point, but you may be able to tell where the old paint was scraped and sanded away. This is especially true if you don’t intend to prime and coat the whole surface with at least two new coats of paint. Instead, try using wood filler or drywall patching compound to make a very thin layer over the scraped surface for a hidden patch job that blends in well. This raises the level to the surrounding paint to disguise the repair. Make sure to use a paintable material designed to bond to the surface you’re trying to paint.
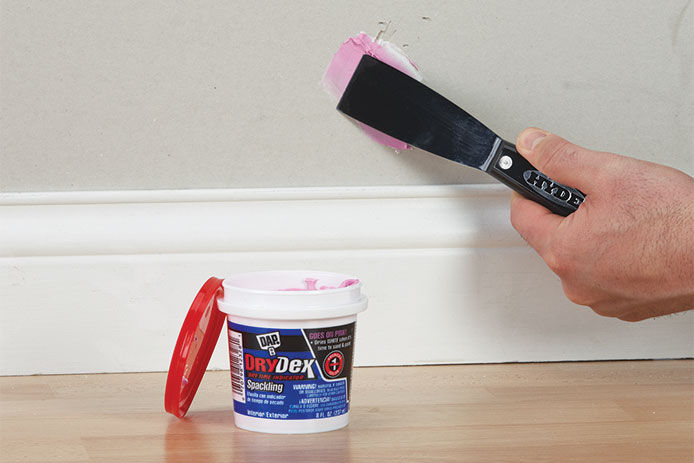
How to Patch and Repair Drywall
An easy and affordable way to fix the interior walls of your home
6. Patch with a Perfect Paint Match
Covering just the area where you scraped away damaged paint can result in a visible difference in color. Painting just a small patch requires a perfect match to the original paint, preferably a gallon or two saved from the last time you painted. Stir the paint well and make sure it hasn’t separated before using it. If the paint’s old enough not to work for patching, it’s likely time to paint the whole wall again anyway. Thanks to modern paint-matching technology, it may be possible to get close enough with new paint to hide the repair.
7. Apply a New Coat for Best Results
Painting the entire surface where paint has flaked results in the best protection from damage in the future and the greatest amount of disguise for the repair. A whole new coat of paint seals the edges around the patched area, ensuring there’s little chance of the peeling or cracking returning. Peeling that resists attempts to scrape and cover the area indicates long-term moisture or sun exposure problems. All paint eventually gives in to damage like peeling or cracking, but it should last at least a few years if properly matched to the environment.
Preventing Future Peeling and Chipping
As was just discussed, all paint eventually chips or peels over time. There are a few things you can do though to extend the lifespan of your newly painted walls:
- Fix Moisture Problems: Repair leaks and improve ventilation in high-moisture areas.
- Prime Before Painting: Apply a primer to improve adhesion, especially on porous or glossy surfaces.
- Apply Thin, Even Coats: Avoid thick layers; let each coat dry fully before adding another.
Don’t let damaged paint make your home look older or in worse shape than it is. Broken paint coverings also let the moisture soak into the material alone. Protect the wood, plaster, drywall, or other surfaces by maintaining a solid layer of paint over the entire surface with these tips.
While do-it-yourself projects can be fun and fulfilling, there is always a potential for personal injury or property damage. We strongly suggest that any project beyond your abilities be left to licensed professionals such as electricians, plumbers, and carpenters. Any action you take upon the information on this website is strictly at your own risk, and we assume no responsibility or liability for the contents of this article.
