
Hardwood floors make a statement in any room, which is why so many crave this design trend. However, hardwood requires proper care to keep them looking nice for years. If you’re remodeling and you happen to find old hardwood under the carpet, consider yourself lucky!
Restoring old hardwood floors can be a lot to take on, but the outcome outweighs the work every time. We’ll show you how to restore those old floors, make the process as easy as possible, and how to keep them looking nice longer.
1. Complete an Inspection
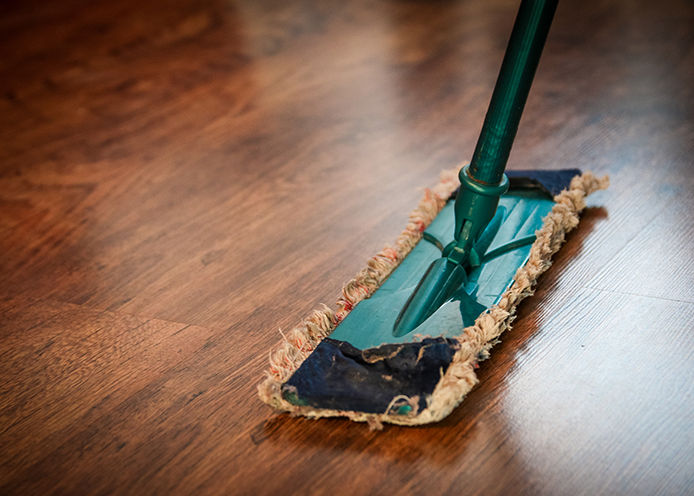
Restoring hardwood floors starts with an inspection. Make sure to remove all furniture and sweep and clean the surface as much as possible. This means cleaning the floor multiple times to make sure all dust and debris is removed.
You’ll also need to determine if the floor has structural issues that might require more extensive repairs. Check for common issues like water damage or loose boards. Identifying these issues early will help you decide whether restoration is viable or if replacement is necessary.
2. Make Necessary Repairs
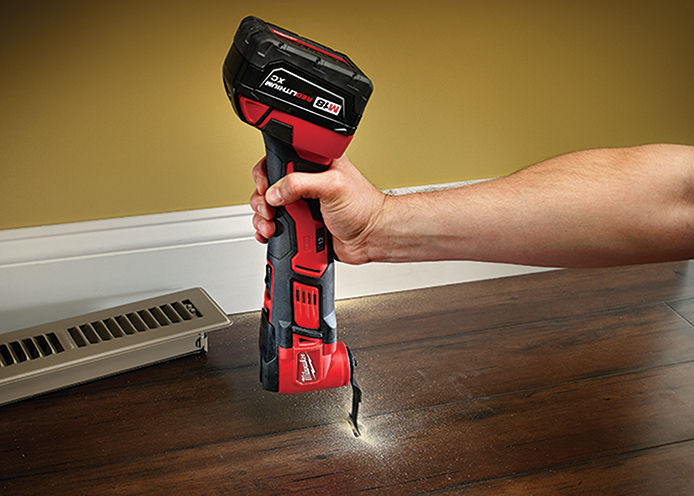
Make any necessary repairs, such as fixing damaged floorboards or discolored wood. If a floorboard is beyond repair, cut or chisel it out and replace the entire piece as shown with the Milwaukee tool. Once you re-stain the entire floor, the color of your patched floor will match the original floor. Any discolored wood can be bleached, but should only be done after the floor is sanded.
3. Sand and/or Fill
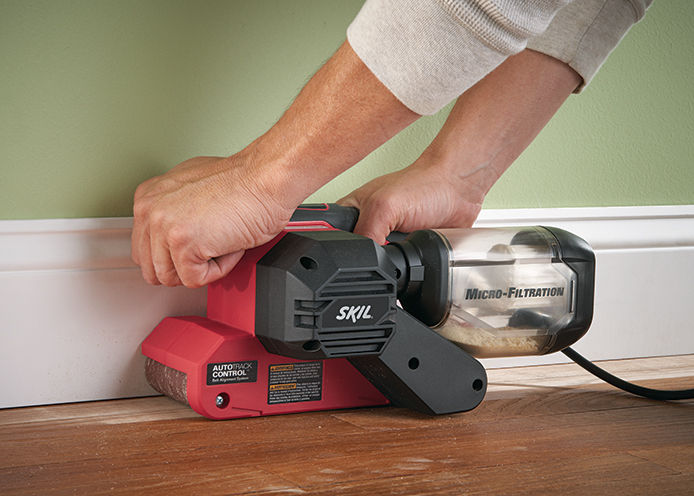
If there are paint spots, nicks, or any other blemishes on the floor that you would like to remove, your best bet is to sand the floor. Try an orbital floor sander first, as it is less invasive, but if you are unable to get desired results try a belt sander like the Skil Belt Sander shown here. Another option is to use a chemical stripper before sanding, which will reduce the overall amount of sanding that you’ll have to do. If there are cracks, they can be filled in using a thinned latex filler anywhere it’s needed.
4. Stain and Finish
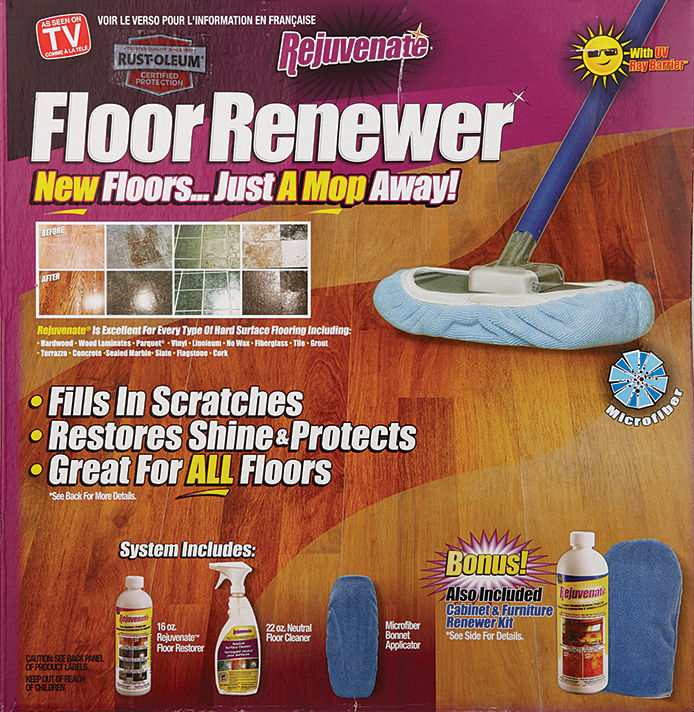
Once the floor is sanded or filled, you’re ready to begin finishing. If you’re re-staining your hardwood, you can complete that step now using your desired shade. The last step is to use a polyurethane-based clear solution to seal your newly stored floor. Using this clear solution, you’ll be able to transform your sanded floor in one, easy application. Most finishers will restore years of wear and tear with a new finish that’s sure to last!
Keep in mind that some floors won’t need as much work to restore. If your inspection reveals floors that may be damaged by sanding, try to scuff up the old finish using a buffer before mopping on your floor polish.
5. Polish & Final Touches
Polishing is the final step in restoring your floor, making it shine and giving it a professional finish. Use a buffer to smooth out any remaining rough spots for a smooth surface. Consider placing area rugs in high-traffic areas for added protection. These finishing touches will keep your restored floor safe for a while.
Maintain Your Floors
A few ways you will be able to maintain the look of your newly restored floor:
- Sweep daily
- Mop once a week
- Use furniture protectors
- Remove shoes
Sweeping daily will keep dust and debris off of your floor, so you don’t have to deep clean as often. Mopping once a week with a non-toxic, PH balanced cleaner will keep floors looking new without leaving a waxy residue. Furniture protectors are placed on the feet of furniture, so you aren’t scratching your floors. Removing shoes is always a good idea because stones can get stuck in soles and scratch hardwood floors easily.
Common Restoration Mistakes
Restoring hardwood floors can be incredibly rewarding, but it’s not without its challenges. Here are some of the most common challenges or mistakes made when restoring a hardwood floor:
- Over-sanding the Floor: Sanding too aggressively or for too long can permanently damage the wood, especially with thinner floors.
- Neglecting Proper Cleaning: Failing to remove dirt, debris, and dust before starting can lead to it getting trapped under the stain or finish.
- Uneven Application of Stain or Finish: Skipping sanding steps or rushing through the process can cause blotchy or streaky results.
- Using the Wrong Tools: Using overly aggressive sanders, poor-quality brushes, or the wrong materials can botch the final outcome.
- Skipping Proper Ventilation: Not ventilating the area properly during staining or sealing can lead to hazardous fumes to the floor.
To avoid these mistakes, take your time, use the right tools, and carefully follow product instructions for a flawless restoration. Following all of these steps to bring back the natural beauty of your hardwood floors will help you achieve professional results. Ready to start? Gather your tools and bring your floor back to its former glory!