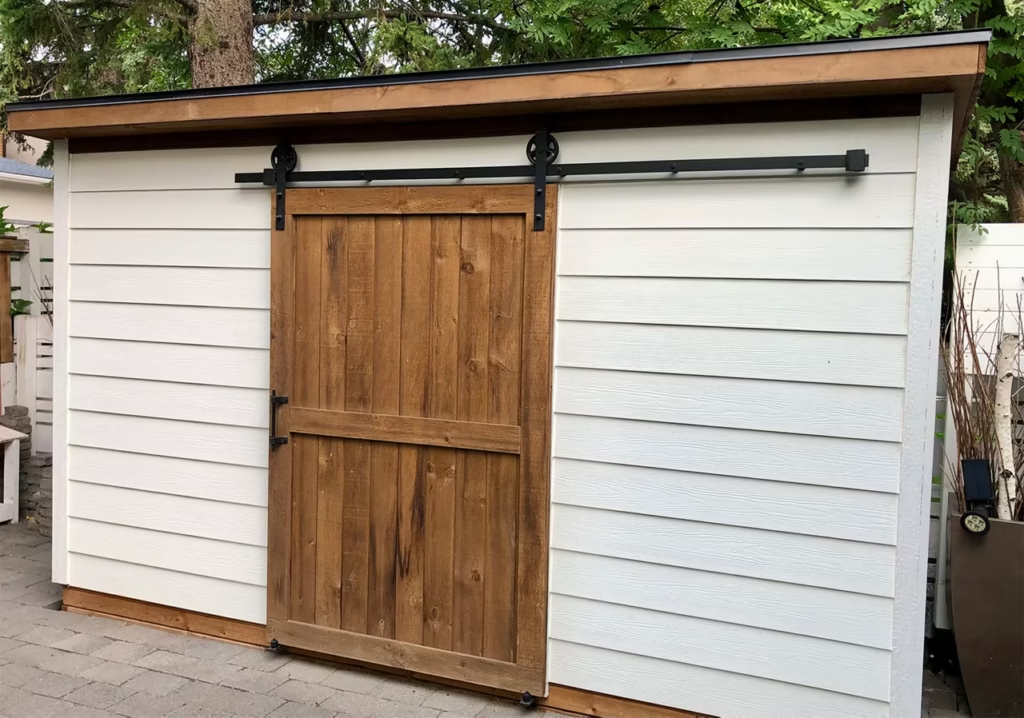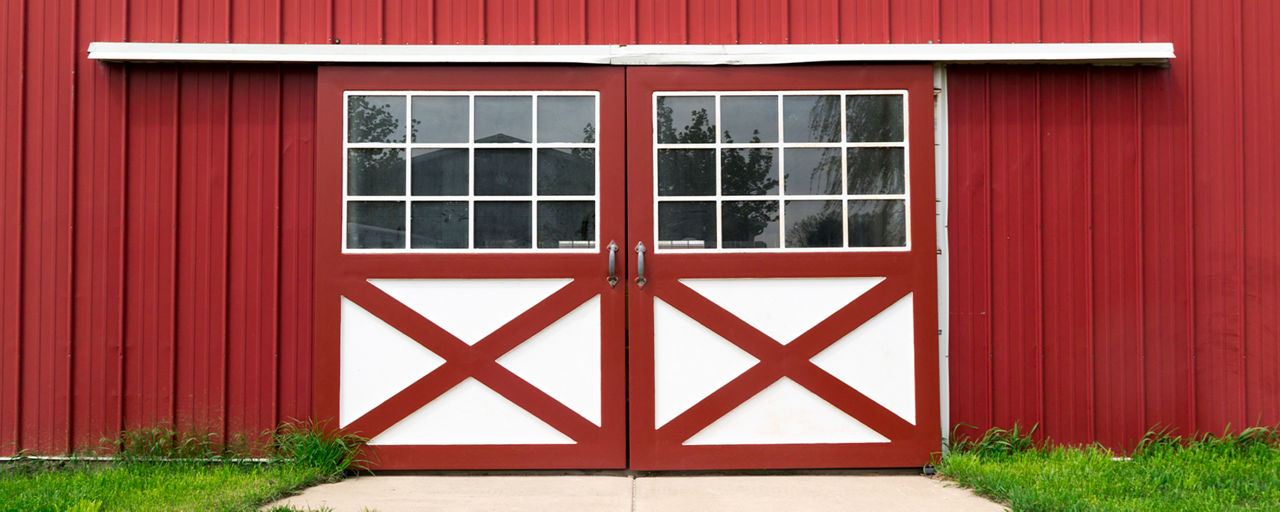
Installing an exterior barn door is a pretty approachable DIY project for a weekend. This guide covers everything needed, from materials and hardware to mounting tips and sealing for weather protection.
Time needed
Roughly 4 to 6 hours for the installation itself. Add 24 hours for paint or stain to dry before mounting hardware.
Content
What to Buy and What It’s For
1. Exterior-Rated Barn Door
The door is the star of the project. A solid-core, exterior-rated barn door holds up to the elements. Good materials include pressure-treated wood, composite, or steel. Avoid hollow-core or interior doors – they’ll swell, warp, and deteriorate outside.
Door sizing tips:
- Width: 4 inches wider than the opening (2 inches extra on each side);
- Height: about 1 inch taller than the door opening for clearance.
2. Hardware (All the Moving and Mounting Parts)
These parts make the door actually slide and stay in place. Most can be purchased individually or as a complete exterior barn door hardware kit.
- Barn door rail (track): The long horizontal bar mounted above the opening. The rollers hang from this and allow the door to slide.
- Hangers or rollers: Attached to the top of the door, they ride along the rail. They often come with mounting bolts included.
- Mounting brackets or spacers: Installed between the track and the wall to create space so the door doesn’t rub against the siding or trim.
- End bumpers: Small stoppers that keep the door from sliding off the ends of the track.
- Rail end caps: Optional metal caps that give a clean, finished look to the ends of the rail and protect against sharp edges.
- Bottom guide or stay roller: Keeps the bottom of the door from swinging away from the wall. Some mount to the wall, others sit on the ground.
- Latch: Adds security and keeps the door closed, especially during storms or windy days.
3. Additional Materials and Tools
These are used to secure everything, seal gaps, and protect from the weather.
- Backer board: A pressure-treated 1×4 or 1×6 board that mounts to the wall. This creates a solid base for the track, especially if the studs don’t align with the track holes.
- Lag screws: Heavy-duty screws that anchor the backer board and track into wall studs or structural framing. Galvanized or stainless steel is best for outdoor use.
- Level: Makes sure the board and rail are perfectly straight so the door doesn’t roll downhill.
- Drill and driver: Used for pilot holes and driving screws into place.
- Wood filler: Fills screw holes or small gaps before painting or staining.
- Backer rod: Fills larger gaps between the backer board and siding before caulking.
- Paintable exterior caulk: Seals seams and prevents water from getting behind the backer board. Choose polyurethane or silicone made for outdoor use.
- Exterior paint or stain: Protects the backer board (and door, if unfinished). Use products labeled for outdoor wood with moisture and UV resistance.
- Masonry anchors: Required if mounting anything into brick, stone, or concrete.
- Construction adhesive: Optional, but helps hold the backer board in place during installation or adds extra strength.
Prep and Planning
Before drilling anything, it’s important to check the wall surface and plan the layout.
The wall should be flat and solid, with enough space for the door to slide completely open. Any light fixtures, vents, windows, or trim should be out of the way. The surface could be siding, stucco, or brick, but the key is that there’s solid framing behind it.
A stud finder helps locate vertical studs or header framing above the door opening. These are what the track needs to be anchored into, not just the siding.
Basic measurement rules
- Door width = opening + 4 inches
- Door height = opening + 1 inch
- Track length = at least twice the width of the door
- Backer board = same as or slightly longer than the track
- Ground clearance = at least 1/2 inch between the bottom of the door and the surface below
If the ground is sloped or uneven, it may be necessary to adjust the mounting height or choose a floating guide that accommodates movement.
Step-by-Step Installation

Step 1: Install the Backer Board
The backer board solves two common issues: it bridges over siding seams or texture, and it makes sure the track can be attached to framing even if the track holes don’t line up with the studs.
- Cut the pressure-treated 1×4 in. or 1×6 in. to match or slightly exceed the track length;
- Apply exterior-grade paint or UV-resistant wood stain. Allow 24 hours to dry before mounting;
- Hold the board horizontally about 1 inch above the height of the door;
- Use a level to make sure the board is perfectly straight, since any tilt in the backer board will carry through to the track, causing the door to roll on its own or sit unevenly when closed;
- Drill pilot holes into the siding and into the studs or structural framing;
- Secure the board with galvanized or stainless lag screws spaced 16 to 24 inches apart;
- Fill any visible gaps behind the board with backer rod and seal the top edge with paintable exterior caulk.
Adding flashing or a drip cap above the board helps divert rain away from the mounting surface and keeps the wall dry.
- Width: 4 inches wider than the opening (2 inches extra on each side);
- Height: about 1 inch taller than the door opening for clearance.
Step 2: Mount the Track
The track needs to be mounted level and securely attached to studs or the backer board.
- Hold the track against the backer board and mark the mounting holes;
- Drill pilot holes through the board and into the studs;
- Use spacers or mounting brackets to keep the rail slightly offset from the wall;
- Secure the track with lag screws;
- Add bumpers at both ends to keep the door from rolling too far;
- Snap on end caps for a cleaner look, if using them.
Step 3: Attach the Rollers to the Door
Rollers connect the door to the track and are usually bolted to the face of the door near the top. .
- Lay the door flat on sawhorses or another clean surface;
- Mark the roller bracket locations and make sure both are the same distance from the top;
- Drill holes and bolt the rollers in place using hardware included with the roller kit, or outdoor-rated bolts if not provided;
- Double-check that both sides are level and tightly secured.
Step 4: Hang the Door
Lifting and hanging the door is easier with a second person. The rollers should glide smoothly onto the track.
- Lift the door and carefully hook the rollers over the rail;
- Slide the door back and forth to check for smooth movement;
- Adjust bumpers if the door needs to stop closer or further from the edge of the opening;
Test for wobble or drag. Everything should move cleanly.
Step 5: Install the Bottom Guide
The bottom guide prevents the door from swinging outward during wind or regular use. There are a few guide options:
- Wall-mounted guides that sit on the trim or side of the opening;
- Floor-mounted guides that roll along a groove cut into the bottom of the door;
- Stay rollers that hug the door and keep it aligned from both sides.
Steps to install:
- Close the door and mark where the guide will go;
- Drill pilot holes;
- Mount the guide using wood screws or masonry anchors, depending on the surface;
If using a groove guide, cut a groove along the bottom of the door before installation.
Step 6: Final Touches
- Attach a pull handle or grip bar that’s designed for outdoor use;
- Add a latch to keep the door closed or locked;
- Seal any visible holes or hardware penetrations with caulk;
- Cover screw heads or exposed fasteners with wood filler and touch up paint or stain;
- Double-check all fasteners, then step back and test the full range of movement.
A small awning, flashing strip, or overhang above the track can add years of life to the hardware by protecting it from rain and snow.
Final Checklist
- Door hangs level and slides smoothly;
- Track is straight, secure, and fastened into framing;
- Backer board is sealed and weather-protected;
- Bottom guide holds the door steady without drag;
- All exposed screws and holes are caulked or filled;
- Handle and latch are installed and working;
- Paint or stain is cured and not tacky.