
Many of us are planting our summer vegetable gardens with dreams of the bounties our gardens will bring. As we are just getting our seeds and plants in the ground, we are also carefully calculating the outcome of our harvest. You may be planting just enough towers of pole beans or rows of tomatoes to feed you through the summer, but the harvest doesn’t have to end there.
Vegetable canning is one way to make the harvest last beyond the growing season and even into the next year. Canning is an old method of food preservation that is a time-honored way to preserve your garden veggies. When planting your summer garden this year, plant a little extra for canning. If you don’t have a vegetable garden, head over to your local farm stand or farmer’s market to pick up a bundle of fresh vegetables for canning instead.
Along with freezing, pickling, and fermenting, canning is one of the best ways to preserve your harvest at its peak nutritional quality. Vegetable canning is one of those things that feels intimidating at first, but once you’ve done it a few times, it is actually quite easy. Whether your favorite vegetable is beans, corn, beets, or anything else, canning allows you to enjoy these veggies long past the harvest date.
Canning Methods for Vegetables
There are basically two kinds of canning methods: water bath canning and pressure canning. Water bath canning is appropriate for high-acid foods and recipes that use an added acid to help preserve and stabilize. This method works for high-acid vegetables such as tomatoes and also for pickles and relishes. Water bath canning should not be used for low-acid or alkaline vegetables, as it can harbor dangerous bacteria.
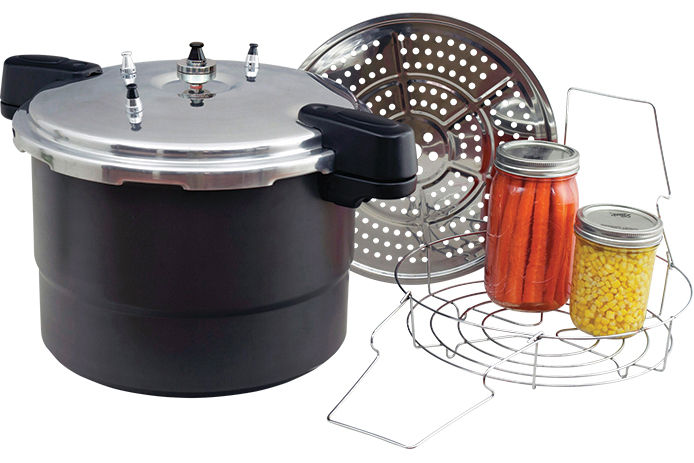
Vegetable Canning Supplies
Pressure canning is the only processing method that reaches a high enough temperature to safely preserve low-acid vegetables. This method works best for most of your garden veggies. If you want to can your vegetables, you need a pressure canner. A pressure canner is not a pressure cooker. It is a heavy-duty piece of equipment with a vent, a pressure gauge, and screw clamps that is capable of heating foods beyond the point of boiling water to eliminate the bacteria botulism, which can cause severe illness. Low-acid (or alkaline) foods must be processed either with an added acid (such as vinegar) or in a pressure canner to ensure safety.
You will also need the correct kind of jars. We recommend Ball Jars or Mason Jars, as they are specifically designed to be heated to high temperatures and vacuum sealed. Be sure they have a two-piece lid: one piece is flat with a thin rubber seal on the bottom and the other is a metal ring that screws around the top of the jar. You will also want to have oven mitts and a pair of jar tongs for handling.
Different Vegetables For Canning
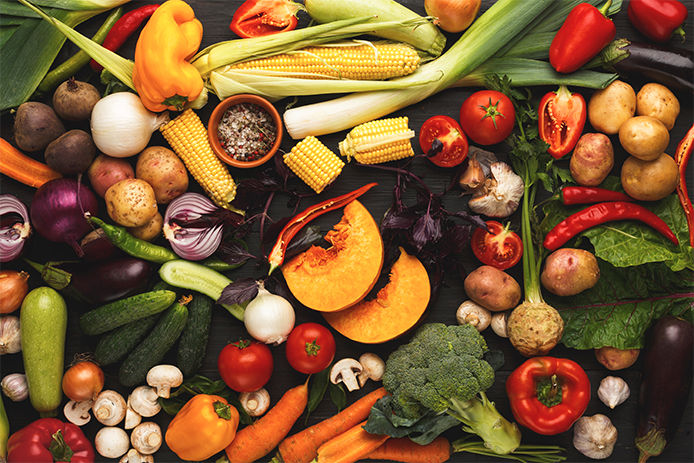
For canning tomatoes, tomato sauce, pickles, or any other vegetable to which you add an acid such as vinegar, you can use the water bath method. For all other vegetables, please use a pressure canner. Feel free to can different vegetables on their own, or to combine varieties of vegetables for beautiful colors and diverse flavors. Until you have some canning experience under your belt, it is always better to use a canning recipe. There are so many different and interesting canning recipes that will preserve the nutrition content and garden-fresh flavors of your favorite vegetables. Try a corn chutney, a garden medley, tomatillo salsa, or some dilly pickles for an interesting twist. Or keep your vegetables preserved separately for future use in recipes or to add to dishes all on their own. Truly, the options are endless here. So, where to begin? We recommend picking your favorite vegetables and then going from there.
How to Can Vegetables – Pressure Canning
Following the exact direction on canning recipes is typically the best route to go. But here are some basic steps to get an idea of what your vegetable canning adventure will look like. Please keep in mind this is for pressure canning. For water bath canning, check out our other article on how to can fruits.
Pre-Canning: Raw Packing vs. Hot Packing
When canning vegetables, you’ll need to choose between raw packing and hot packing, and each method has its advantages.
Raw packing involves placing uncooked vegetables directly into jars and then adding boiling water or brine before processing. It’s quicker and easier but can lead to more floating and uneven cooking since the vegetables shrink during processing.
Hot packing means you briefly boil the vegetables before packing them into jars. This method helps remove air, reduces floating, and allows you to fit more into each jar. It generally results in better texture, flavor, and shelf stability, especially for denser vegetables.
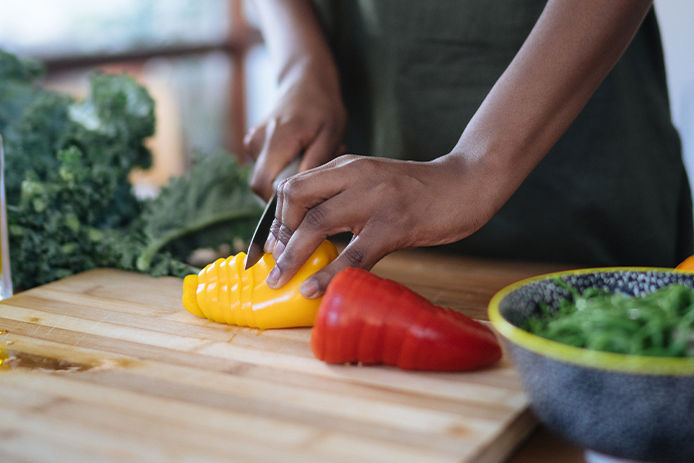
- Prepare the vegetables for canning. Choose ripe, fresh, and blemish-free vegetables. Wash, peel, and seed the vegetables and then cut them into uniform pieces.
- Prepare the canning jars. It is important to sterilize your canning jars and lids with soap and hot water. Keep the jars hot until they are ready to be filled.
- Blanch vegetables (optional). Combine all the vegetables in a large pot and boil for 5 minutes. Pack the clean jars with the vegetables and cooking liquid, leaving 1 inch of space at the top of the jars. As an optional addition, add 1 teaspoon of canning salt to each jar.
4. Wipe the rims of the jars and stir gently to release trapped air. Cover with metal lids and place the sealed jars on the pressure canner rack. Fill the canner with hot water. Be sure the jars are not touching the bottom of the canner or each other.
5. Place cover on canner and heat the water to boiling. Depending on the kind of canner you have, after 10 minutes add canner weight or close the vents. Process your jars for 90 minutes, adjusting the pressure according to your altitude. Refer to a pressure guide to get this right.
6. When finished, turn off the pressure canner and allow the pressure to go down and the jars to cool. Remove the jars from the canner and allow them to rest undisturbed for up to 12 hours. Label and store.
Common Veggie Canning Mistakes to Avoid
Canning veggies can be simple, but there are a few common mistakes that beginners should watch out for. Avoiding these mistakes makes sure your canned veggies are safe to eat and have a long shelf life.
- Using the wrong method: Low-acid vegetables MUST be pressure canned. Water bath canning won’t reach high enough temperatures to kill bacteria and consuming these veggies is dangerous.
- Reusing lids: Only use canning lids once. Reused lids may not seal properly and could cause spoilage.
- Disturbing jars too soon: Let jars sit undisturbed for at least 12 hours after canning to allow proper sealing. Failing to do so could ruin the canning process.
Summer vegetable canning isn’t so bad! So plant or gather your favorite vegetables and get canning to prolong the taste of the harvest.